Hatches |
|
|
|
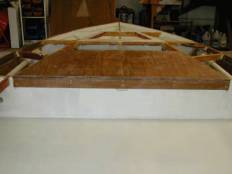
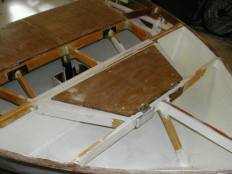
Front Cockpit HatchThe large hatches are made from 3/8” x 2” plywood frames decked with 3/8” plywood and reinforced with FG tape on the seams. They are similar in shape to those on Hewes Redfishers and Mavericks. They provide a very large opening into the storage compartments. |
|
|
Rear Cockpit HatchThe rear hatch built in the same manner. |
|
|
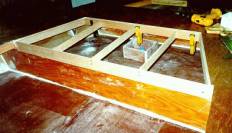
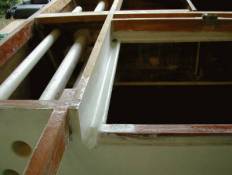
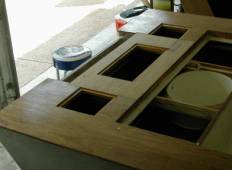
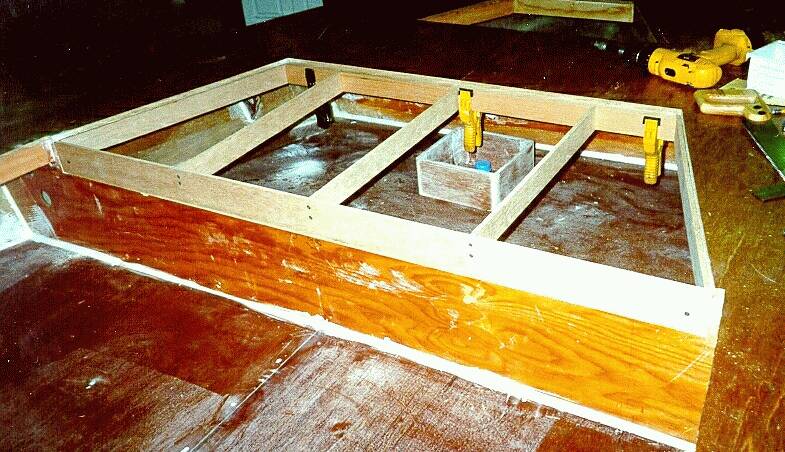
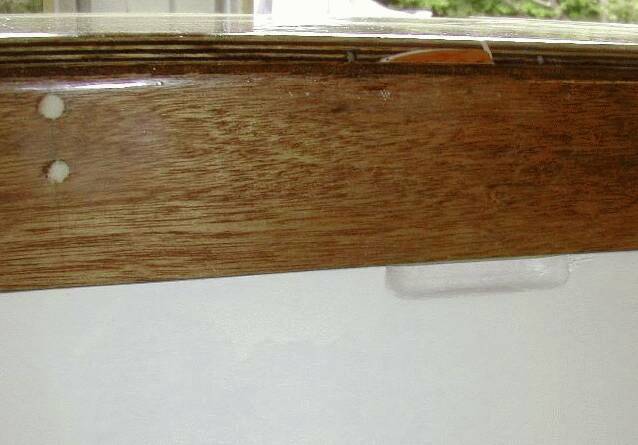
Hatch FramingThe decks are primarily braced with 3/4” X 2” Fir for lightness. The Console area is 1” X 2” mahogany for added strength. The hatch cutouts are all edged with fir. |
|
|
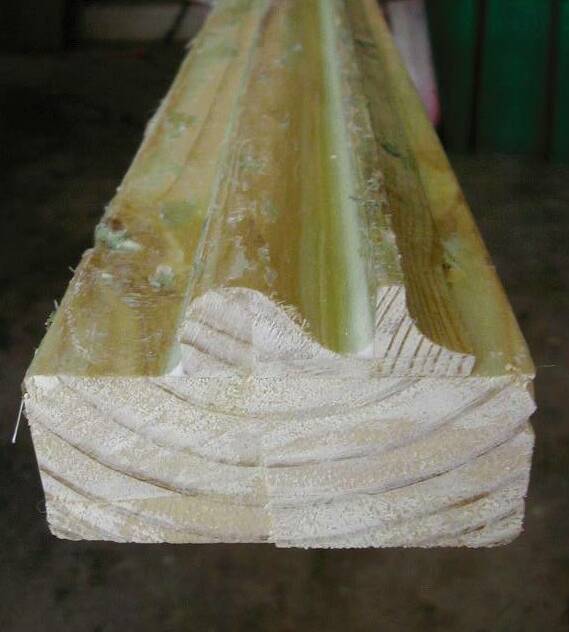
Drain Rail PlugI built a plug to make the drain rails out of two pieces of moulding attached to a 2 X 4. This was then sealed with spray on polyurethane. A layer of wax and mold release was applied before each glassing. The mold release is the green stuff flaking off the plug. |
|
|
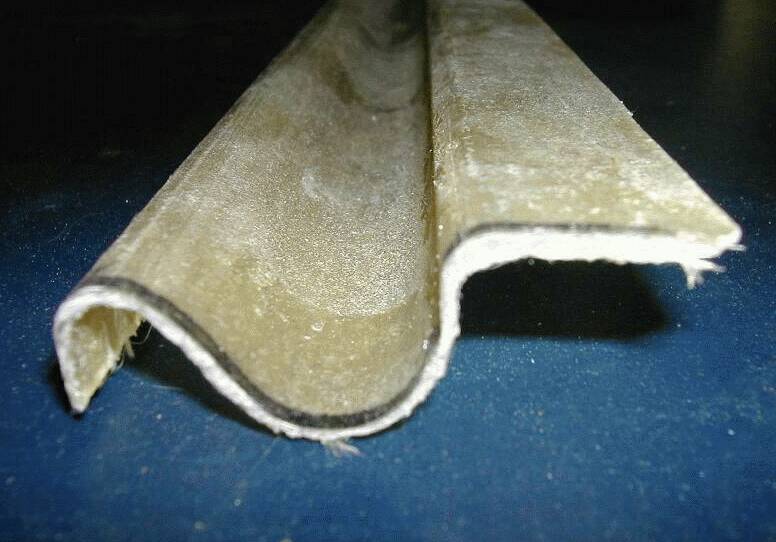
Drain RailsThe rails are made by laying FG mat on the plug and coating with polyester resin. 2 layers of mat were used to make it thick enough. Polyester resin is fine for this since it is not structural and it cures much faster so a lot of them can be made in one day. |
|
|
Drain Rails on Rear HatchThe drain rails are then epoxied to the hatch framing. |
|
|
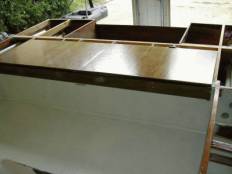
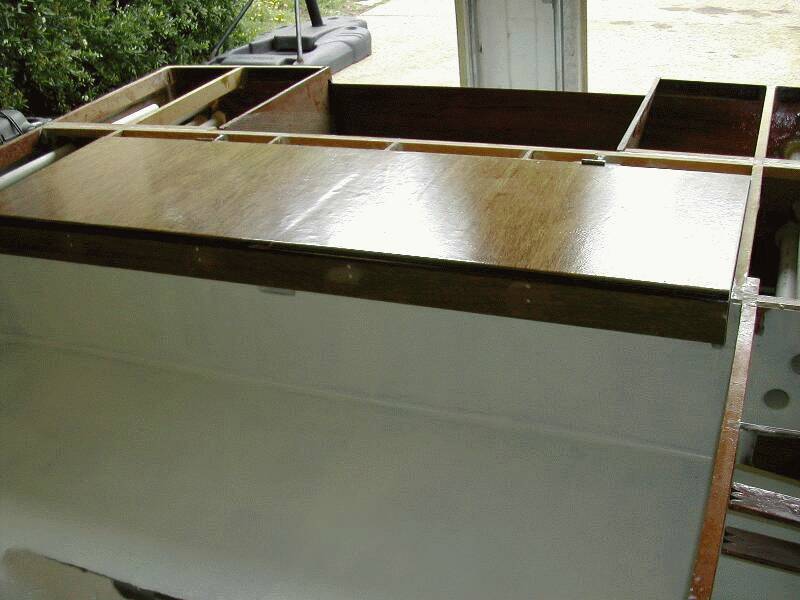
Rear Hatch In PlaceThe hatches are covered with 6 oz FG cloth. |
|
|
Front Hatch in Place |
|
|
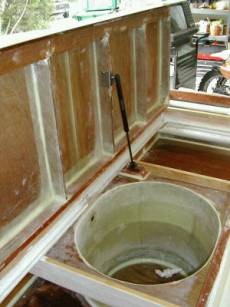
Gas LiftI found some gas lifts that keep the hatches from slamming closed and hold it open nicely. |
|
|
Anchor Locker HatchThe anchor locker hatch is just 3/8” plywood with some 1” square bracing around the bottom side. |
|
|
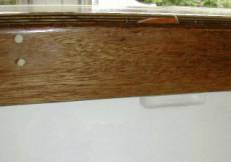
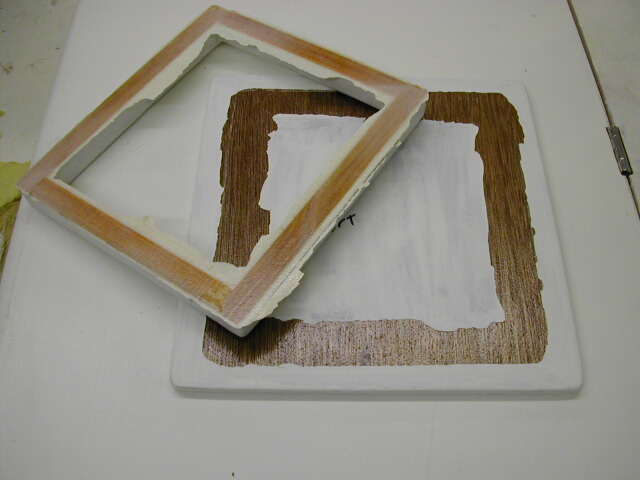
Finger PullFinger pull cutouts allow the hatch to be raised w/o having to have a handle. |
|
|
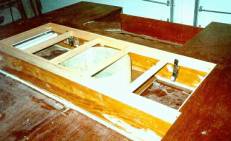
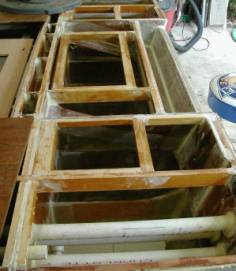
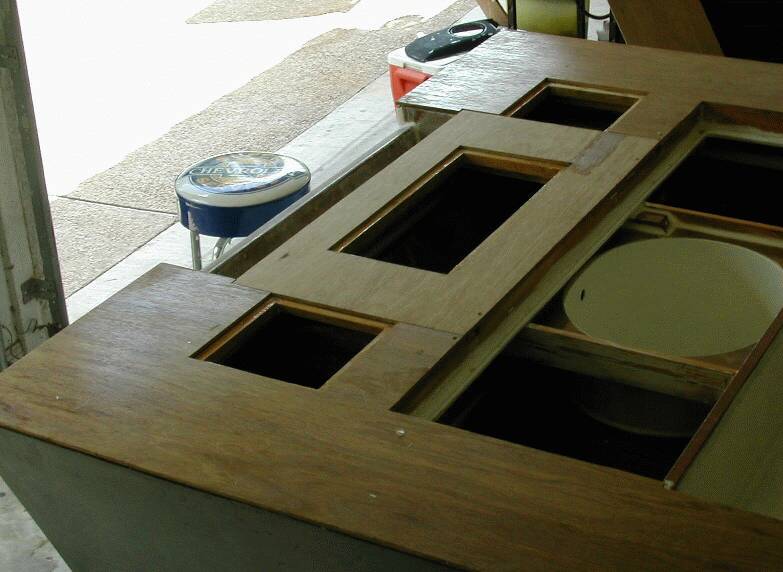
Rear Hatch FramingAfter I decided to use a jack plate I had to add 3 hatches at the rear to get to the pumps and batteries and stuff. I kept most of the old OB well to strengthen the transom. |
|
|
Rear HatchesThe center hatch is where the outboard well normally is. This allows another 2 feet of deck space at the rear to walk around on. |
|
|
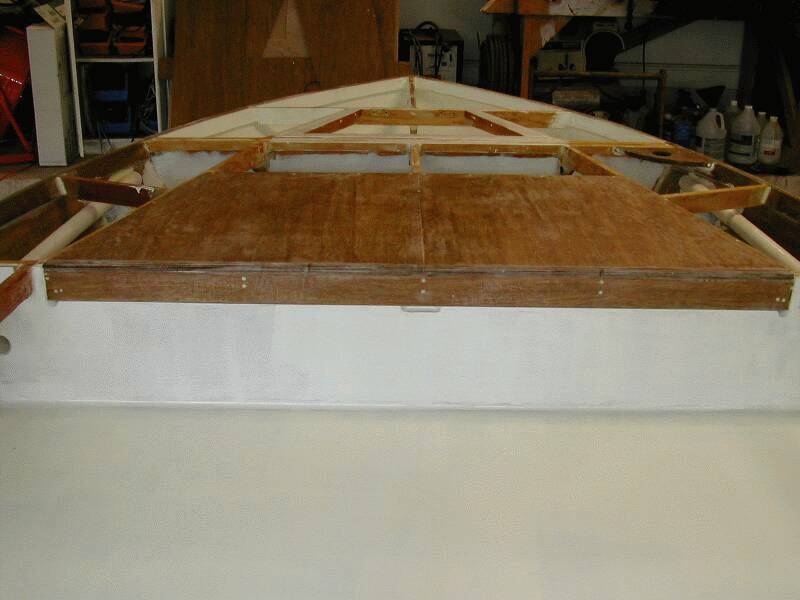
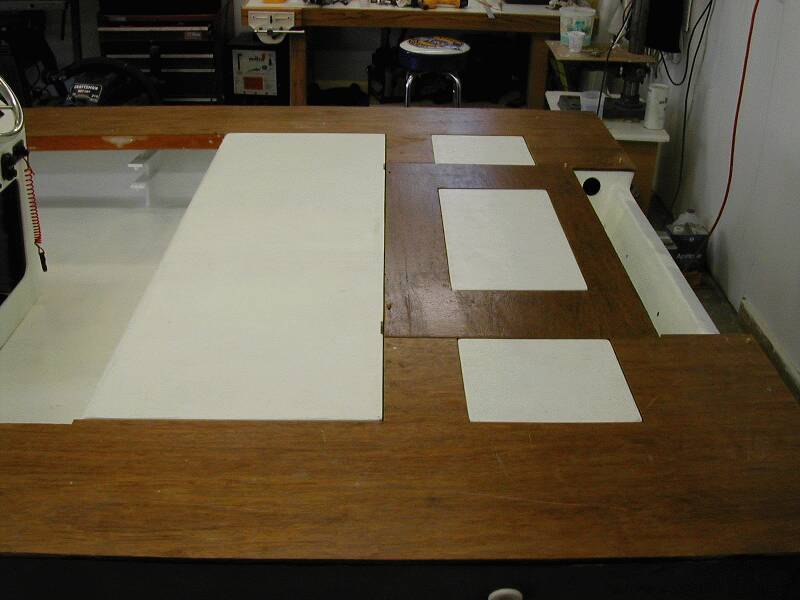
Rear LayoutThe large hatch covers the live well, the 3 smaller ones provide access between the last bulkhead and the transom. This is where the battery, oil tank, hydraulic pump, and bilge pump are located. A small transom well provides access to the cables and gas line. |
|
|
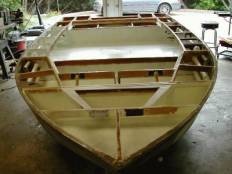
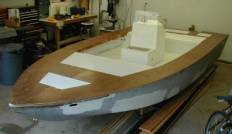
Overall LayoutView of the overall hatch layout and console. |
|
|
Oops!This is why you should always sand epoxy between coats. Must have had some blush on the plywood which did not get sanded. Why stepped on the hatch it popped the bracing right off. |


